Locations
Extensions can render custom views via iFrames. To support multiple views in different places every location of the iFrame gets a unique ID. These can be defined by the extension developer itself.
Example:
A extension wants to render a custom iFrame in a card in the dashboard. The location of the iFrame has then a specific locationId like sw-dashboard-example-app-dashboard-card. The app can also render another iFrames which also get locationIds. In our example it is a iFrame in a custom modal: example-app-example-modal-content.
The extension want to render different views depending on the location of the iFrame. So the extension developer can render the correct view depending on the locationId:
// Add the ui extensions when your extension is loaded in the hidden iFrame
if (sw.location.is(sw.location.MAIN_HIDDEN)) {
  ui.componentSection.add({
      component: 'card',
      positionId: 'sw-product-properties__before',
      props: {
          title: 'Hello from plugin',
          subtitle: 'I am before the properties card',
          /**
           *  The locationId:
           **/
          locationId: 'my-app-card-before-properties'
      }
  })
}

// Render the custom UI when the iFrame location matches your defined location
if (sw.location.is('my-app-card-before-properties')) {
    document.body.innerHTML = '<h1>I am the in the location "my-app-card-before-properties"</h1>';
}
Base location
Every extension gets rendered in a hidden iFrame. In this iFrame the extension can execute different commands to extend the administration and add custom locations to different extension points. To check if the script will be executed in this location you can use the predefined constant:
import { location } from '@shopware-ag/meteor-admin-sdk';

if (location.is(location.MAIN_HIDDEN)) {
  // Do the stuff in the hidden iFrame
}
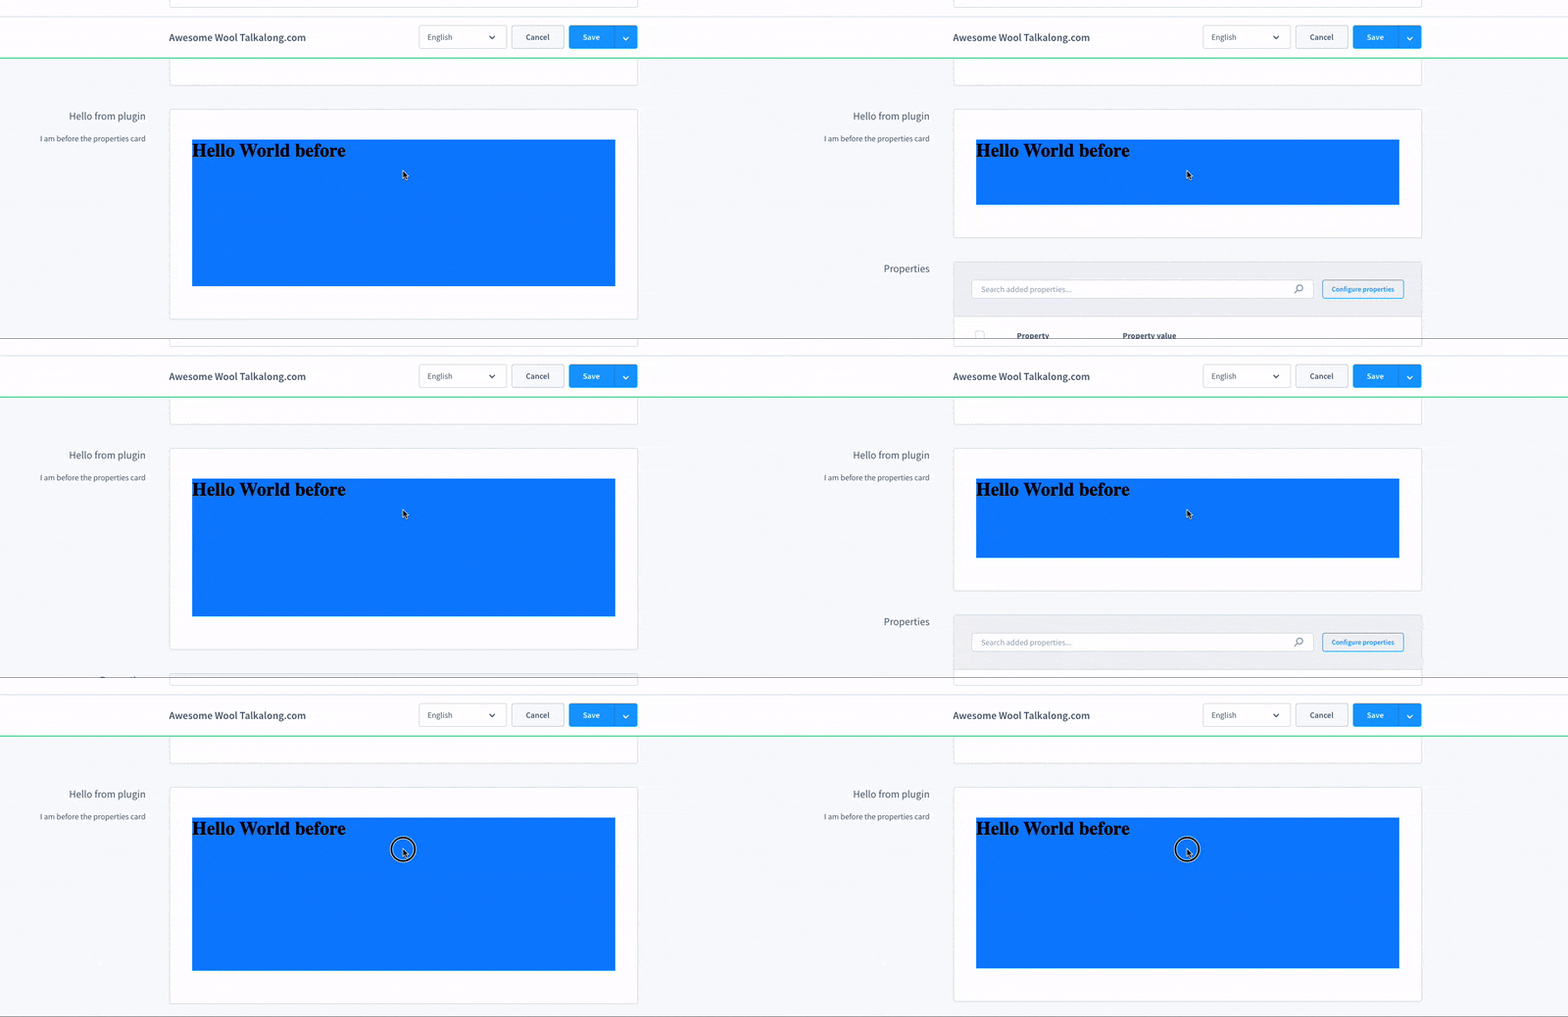
Change height of location iFrame
The iFrame height is by default fixed. You can update the height with the location helper:
location.updateHeight(750); // change iFrame height to 750px
If you use a parameter then the height will automatically be calculated so that your whole view gets rendered. In most cases you don't want to update the height manually. To watch for height changes you can use the auto resizer. It updates the iFrame height everytime the height of the view changes:
// watch for height changes and update the iFrame
location.startAutoResizer();

Avoiding scrollbars
If you render custom locations it is useful to disable the scroll behavior in your view. Otherwise scrollbars are visible
which aren't needed in most cases. To avoid this you can add the css property overflow: hidden; to the body element.
For existing plugin migrations: render Vue components instead of iFrames
In some cases you just want to use specific features from the SDK and some features from the existing plugin system which works with Twig and Component overriding. In this case you can do some things with the SDK but render components from the Shopware Component Factory instead of iFrames.
To do this you need to register the component in the existing plugin system:
Shopware.Component.register('your-component-name', {
  // your component
})
Now if you want to render the component in a location you need to add the name of the component to the current location. This can be done with the sdkLocation store:
Shopware.State.commit('sdkLocation/addLocation', {
    locationId: 'your-location-id',
    componentName: 'your-component-name'
})
With this feature you can create mix the usage of the SDK and the existing plugin system. A complete example could be looking like this. It creates a new tab item in the product detail page, renders a card with the componentSection renderer and inside the card it renders the location. But instead of the traditional location it renders a Vue component which was registered in the Shopware Component Factory.
// in a normal plugin js file without a HTML file
import { ui, location } from '@shopware-ag/meteor-admin-sdk';

if (!location.isIframe()) {
  const myLocationId = 'my-example-location-id';

  // Create a new tab entry
  ui.tabs('sw-product-detail').addTabItem({
      label: 'Example tab',
      componentSectionId: 'example-product-detail-tab-content'
  })

  // Add a new card to the tab content which renders a location
  ui.componentSection.add({
      component: 'card',
      positionId: 'example-product-detail-tab-content',
      props: {
          title: 'Component section example',
          locationId: myLocationId
      }
  })

  // Register your component which should be rendered inside the location
  Shopware.Component.register('your-component-name', {
    // your component
  })

  // Add the component name to the specific location
  Shopware.State.commit('sdkLocation/addLocation', {
      locationId: myLocationId,
      componentName: 'your-component-name'
  })
}